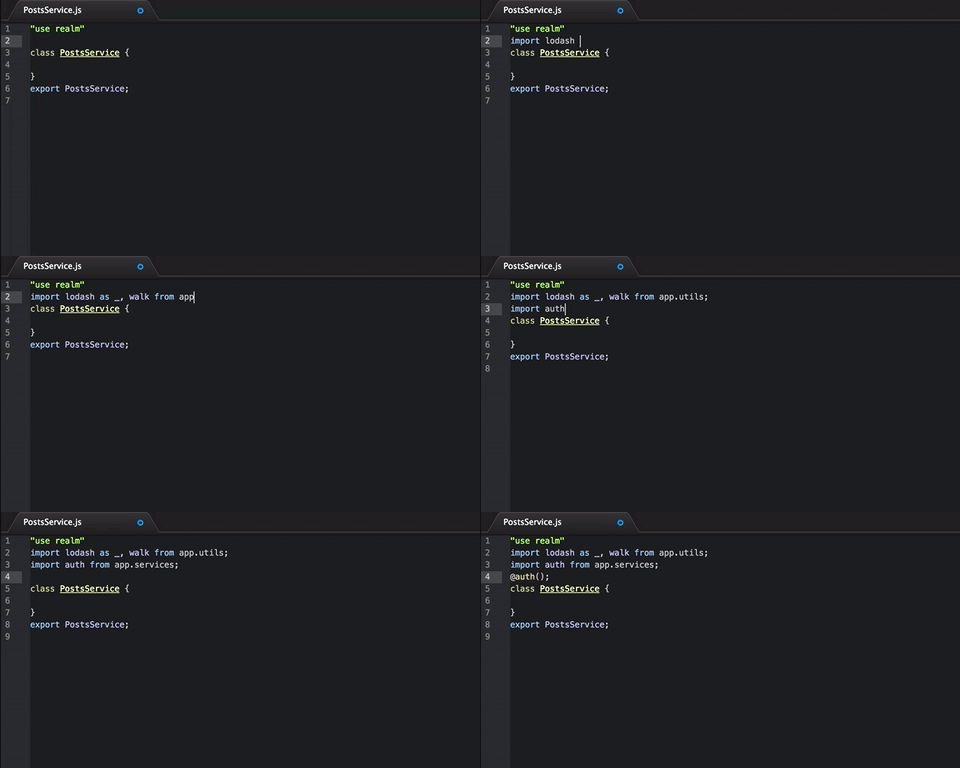
Realm-js
Imagine js imports on steroids! Realm-js respects promises, super fast as transpiling, supports aliases and runs in an isolated universal environment.
READ THIS MEDIUM POST TO DIVE IN

Features
- 100% Universal
- Improved import system - Packages, aliases
- Promise based
- EC7 friendly - decorators
- Automatic environment separation (backend, frontend, universal)
- Backend encapsulation / Bridges
- Extremely fast compilation (50-70ms) to transpile a big project
Realm-js on medium
https://medium.com/@ivanorlov/universal-bridging-1e3a08015a44#.eubj7asfz

https://medium.com/@ivanorlov/let-there-be-promise-and-there-was-then-e2fd94a0b2f9#.gwczuvuhv

Usage
"use realm"; ; static { GoogleFeed; };Try it now!
git clone https://github.com/realm-js/universal-app-examplenpm installcd universal-app-examplegulp startToDo service is isolated. Frontend can access the interface, however code is hidden from the end users.
## Header typesUniveral mode. File will be put into universal.js
"use realm";Frontend mode. File will be put into frontend.js
"use realm frontend";Frontend mode without wrapping. File will be put into frontend.js
"use realm frontend-raw";Backend mode. File will be put into backend.js
"use realm backend";Backend mode without wrapping. File will be put into backend.js
"use realm backend-raw";Bridge mode, the source will be put into backend.js, interface into frontend.js
"use realm bridge";Using Bridges
Sometimes you need to have your code encapsulated. Say, secured calls involving authentication; In this case, bridge is the most suitable case.
Before proceeding, you need to install realm-router (it will actually proxy frontend requests) Set up you express application like so:
var router = ;realmInclude realm-router frontend build file into your html file. And start bridging!
"use realm bridge"; static Remember that only static methods are exposed.
Transpiler
Universal transpiler will output 3 files: backend, frontend, universal
gulp;Install
npm install realm-js --save
Under the hood
You can use realm-js without transpiler
Creating modules/services
realm;realm;Require a module
Code:
realm;Will resolve all required dependencies. The ouput:
hello: "world"Require a package
You can require a package if you like.
realm;Annotation
Clearly, if you don't use ec6, or any other transpilers, you need to annotate modules
realmA simple import
If a module does not belong to any package:
If a module belongs to a package:
Giving it alias
Explicit module name (not recommended)
Dealing with promises
Realm-js has a set of functionality that helps solving many problems or impediments related to Promises
Each
Iterates a list of promises (objects) consecutively. Respects promises if provided
var a = 1 2 3;realm;And another example with optional Promise
realmChains
Chain are very helpful when you have a logic flow, and you need to split it up, and keep you code clean. All methods are executed in strict order. You can call it a waterfall.
{ // I am the first one. And i set this.foo = "foo1" return "foo1"; } { // I am the second one, and i have "this.foo" at my disposal // And i set this.bar = "bar1" return "bar1"; } // I am the third one, and everyone will wait for me let self = this; return { // But i will not assign anything // Just have to resolve myself return } // I am the last to be executed, and i will assign this.hello = "world" return "world"; realm;Executes methods in defined order. If a setter is defined, realm will assign the result into the instance of a class.
Formatting the output
You can format the output as well using "format" method.
{ return "foo1"; } { // I am still executed return "bar1"; } return hello : thisfoo realm;Contribute
Please, contribute!