
EmailEngine Email API
NB! Version 1 of EmailEngine has been discontinued. Check out the EmailEngine's homepage for version 2 and newer.
Headless email client that makes IMAP and SMTP resources available over REST. Integrate email accounts with your service with ease!
Use cases
- Syncing users' emails to your service and sending out emails on behalf of your users
- Integrating your app with a specific email account, eg. your support email
- Monitor INBOX and Junk folders of a test email account to see where the emails you send out end up in
- Lightweight webmail and mobile email apps that do not want to process IMAP and MIME
Quickstart
This example assumes that Redis is installed locally and does not require any authentication. See docs for other options.
- Set up Postal System's NPM registry (requires a subscription that you can sign up for here)
$ npm set @postalsys:registry https://registry.postalsys.com
$ npm adduser --registry=https://registry.postalsys.com --scope=@postalsys
- Install and run EmailEngine
$ npm install -g @postalsys/emailengine-app
$ emailengine
- Open http://127.0.0.1:3000 in your browser
Later, when you want to upgrade, just run the installation command from step 2. again and restart the emailengine service.
Tip For human readable logs you can use pino-pretty (
npm install -g pino-pretty) by piping EmailEngine output to it:emailengine | pino-pretty
Version and license
Run the following command to see the version and license information both for EmailEngine and for the included modules.
$ emailengine license
Demo

This video shows how to
- Install and start EmailEngine
- Configure webhooks destination using the web UI (webhook handling from https://webhook.site/)
- Create a new email account at https://ethereal.email/
- Open Swagger documentation page that also serves as an API playground
- Using the API playground to add a new IMAP/SMTP account using the id "example"
- Check the webhook listing to see the notification about found messages from the added account (includes limited information)
- Using the ID from the webhook fetch all data for the message (decoded addresses, subject, text etc, also original headers as an array)
Features
- EmailEngine allows simple access to IMAP accounts via REST based API. No need to know IMAP or MIME internals, you get a "normal" API with paged message listings.
- All text (that is subjects, email addresses, text and html content etc) is utf-8. Attachments are automatically decoded to binary representation.
- Whenever something happens on tracked accounts EmailEngine posts notification over a webhook. This includes new messages, deleted messages and message flag changes.
- Easy email sending. If you specify the message you are responding to or forwarding then EmailEngine sets all required headers, updates references message's flags in IMAP and also uploads message to the Sent Mail folder after sending.
- No data ever leaves your system (read about data and security compliance here)
- If you are running into IP based rate limiting then EmailEngine can make use of multiple local network interfaces to make connections from different IP addresses.
Requirements
- Redis – any version
- Node.js - v12.16.0 or newer
There is no official Redis release for Windows but you can use an alternative like Memurai.
Tip! Try to keep the latency between EmailEngine and Redis as low as possible, best if these would run in the same machine or at least in the same DC. EmailEngine runs a separate Redis command for each message in a folder when syncing messages, so if the latency is not low then it takes a long time to sync a folder with a lot of messages,
Documentation
- API Reference
- Blog posts
- For Postman you can import OpenAPI specification here.
Configuring EmailEngine
See the documentation for configuring EmailEngine here.
Redis connection
$ emailengine --dbs.redis="redis://127.0.0.1:6379/8"
Prepared settings
Read here
Encryption secret
Read here
Local addresses
Read here
Authentication
EmailEngine supports Basic Auth with a single user. This is a convenience option only, for any kind of production use you should implement your own user management and limit access with a firewall to trusted machines only.
$ emailengine --api.auth="user:password"
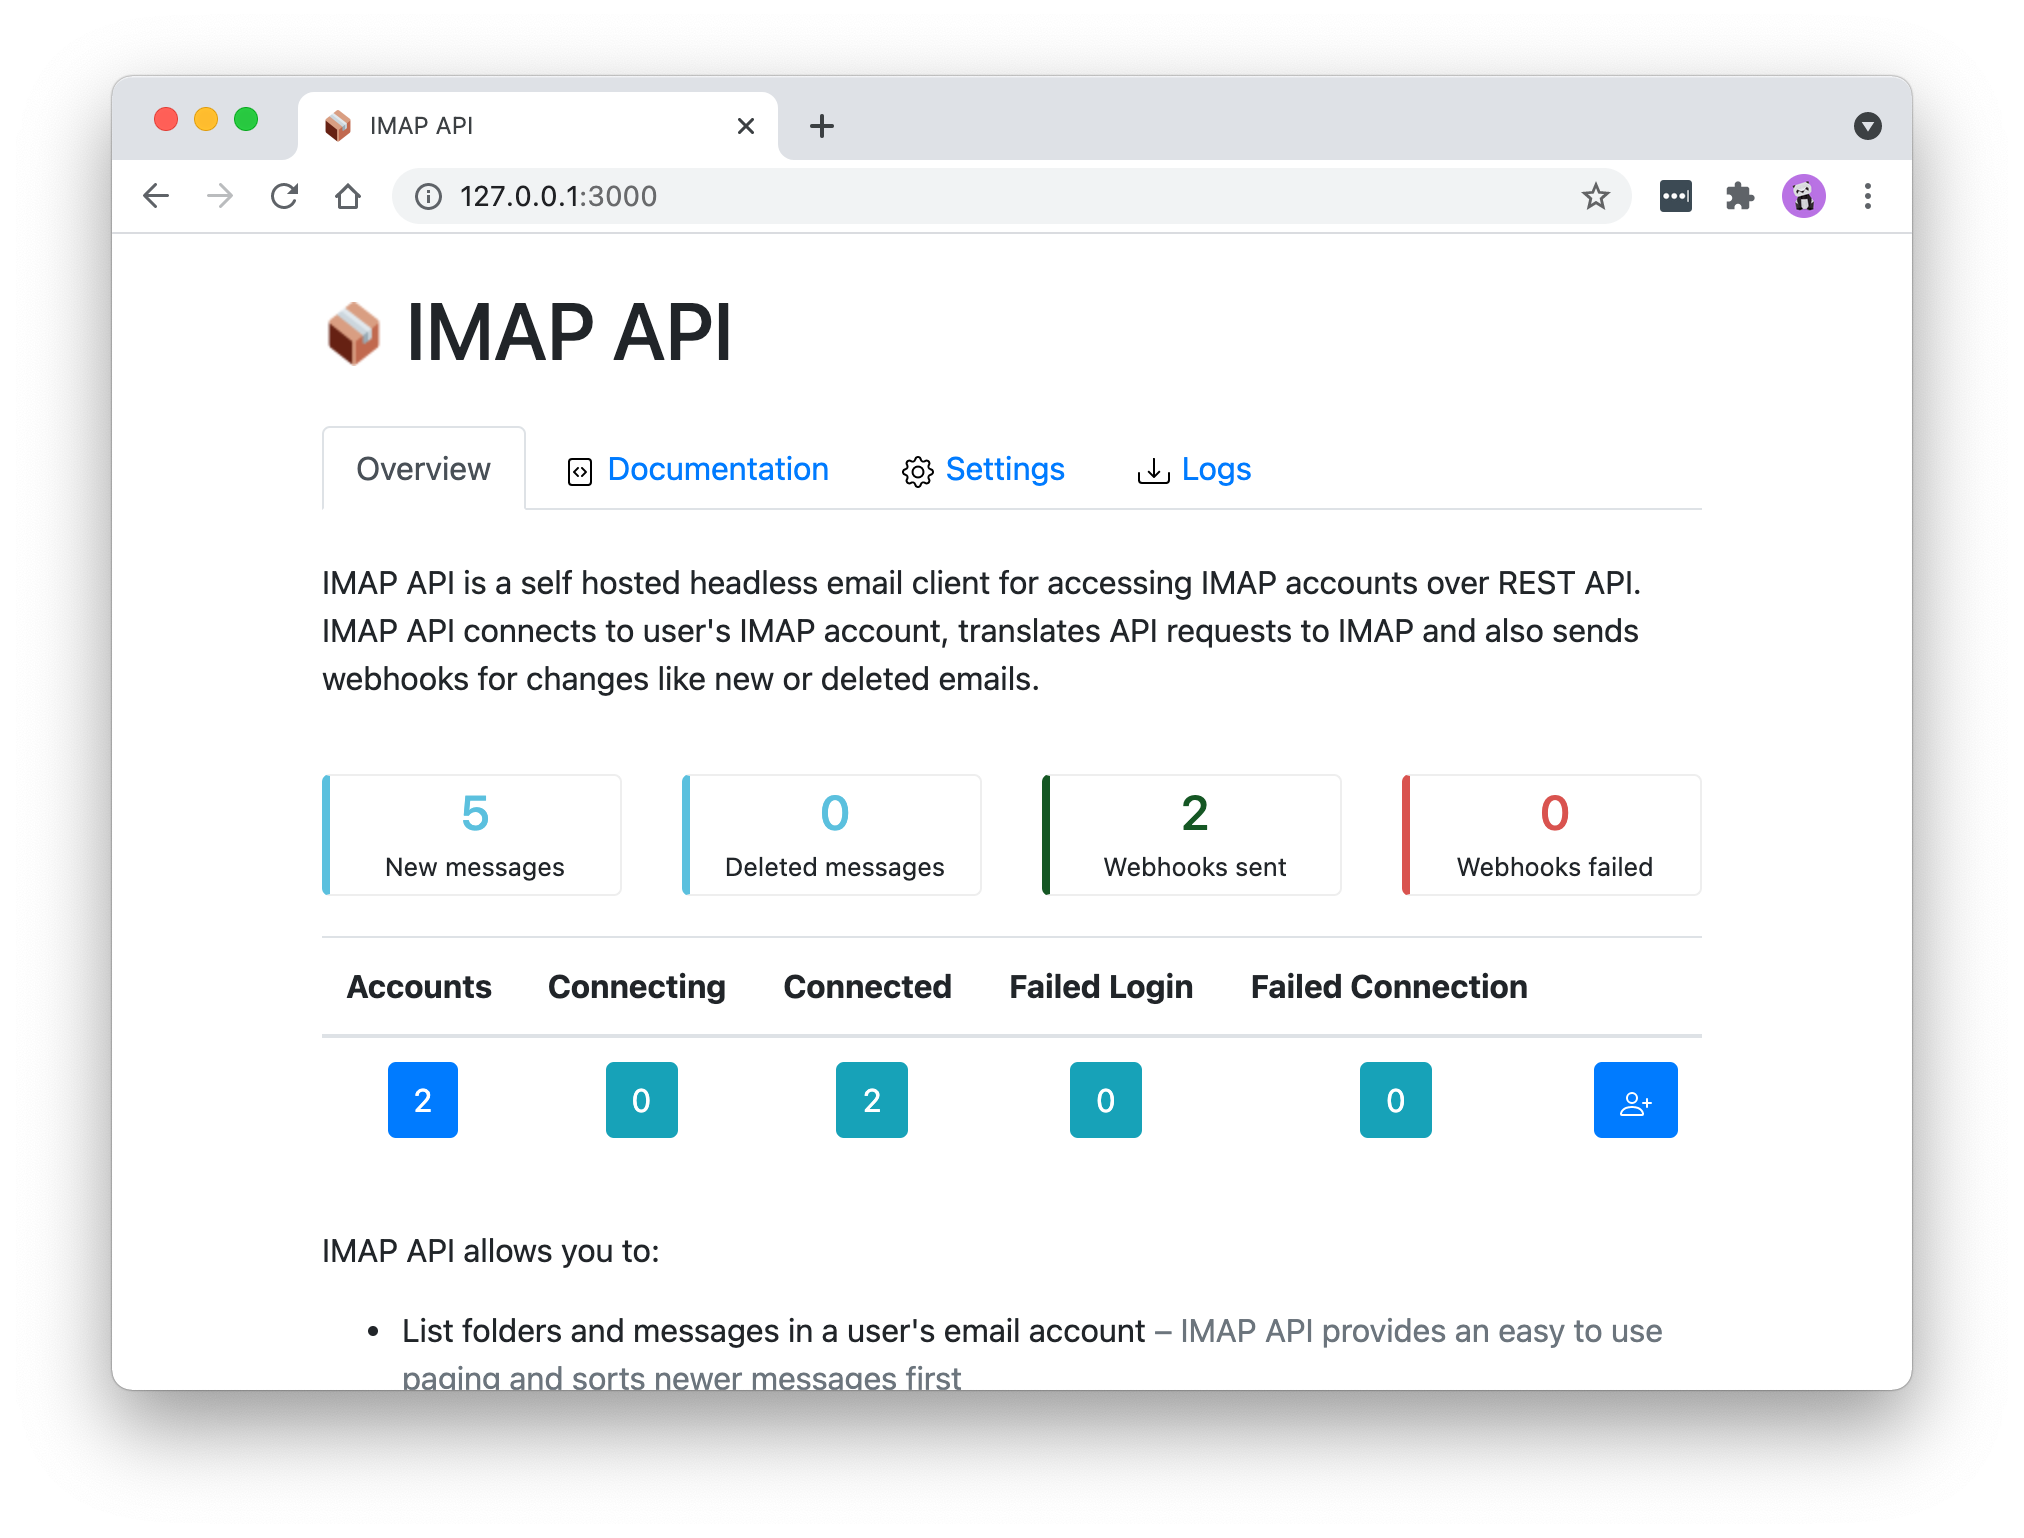
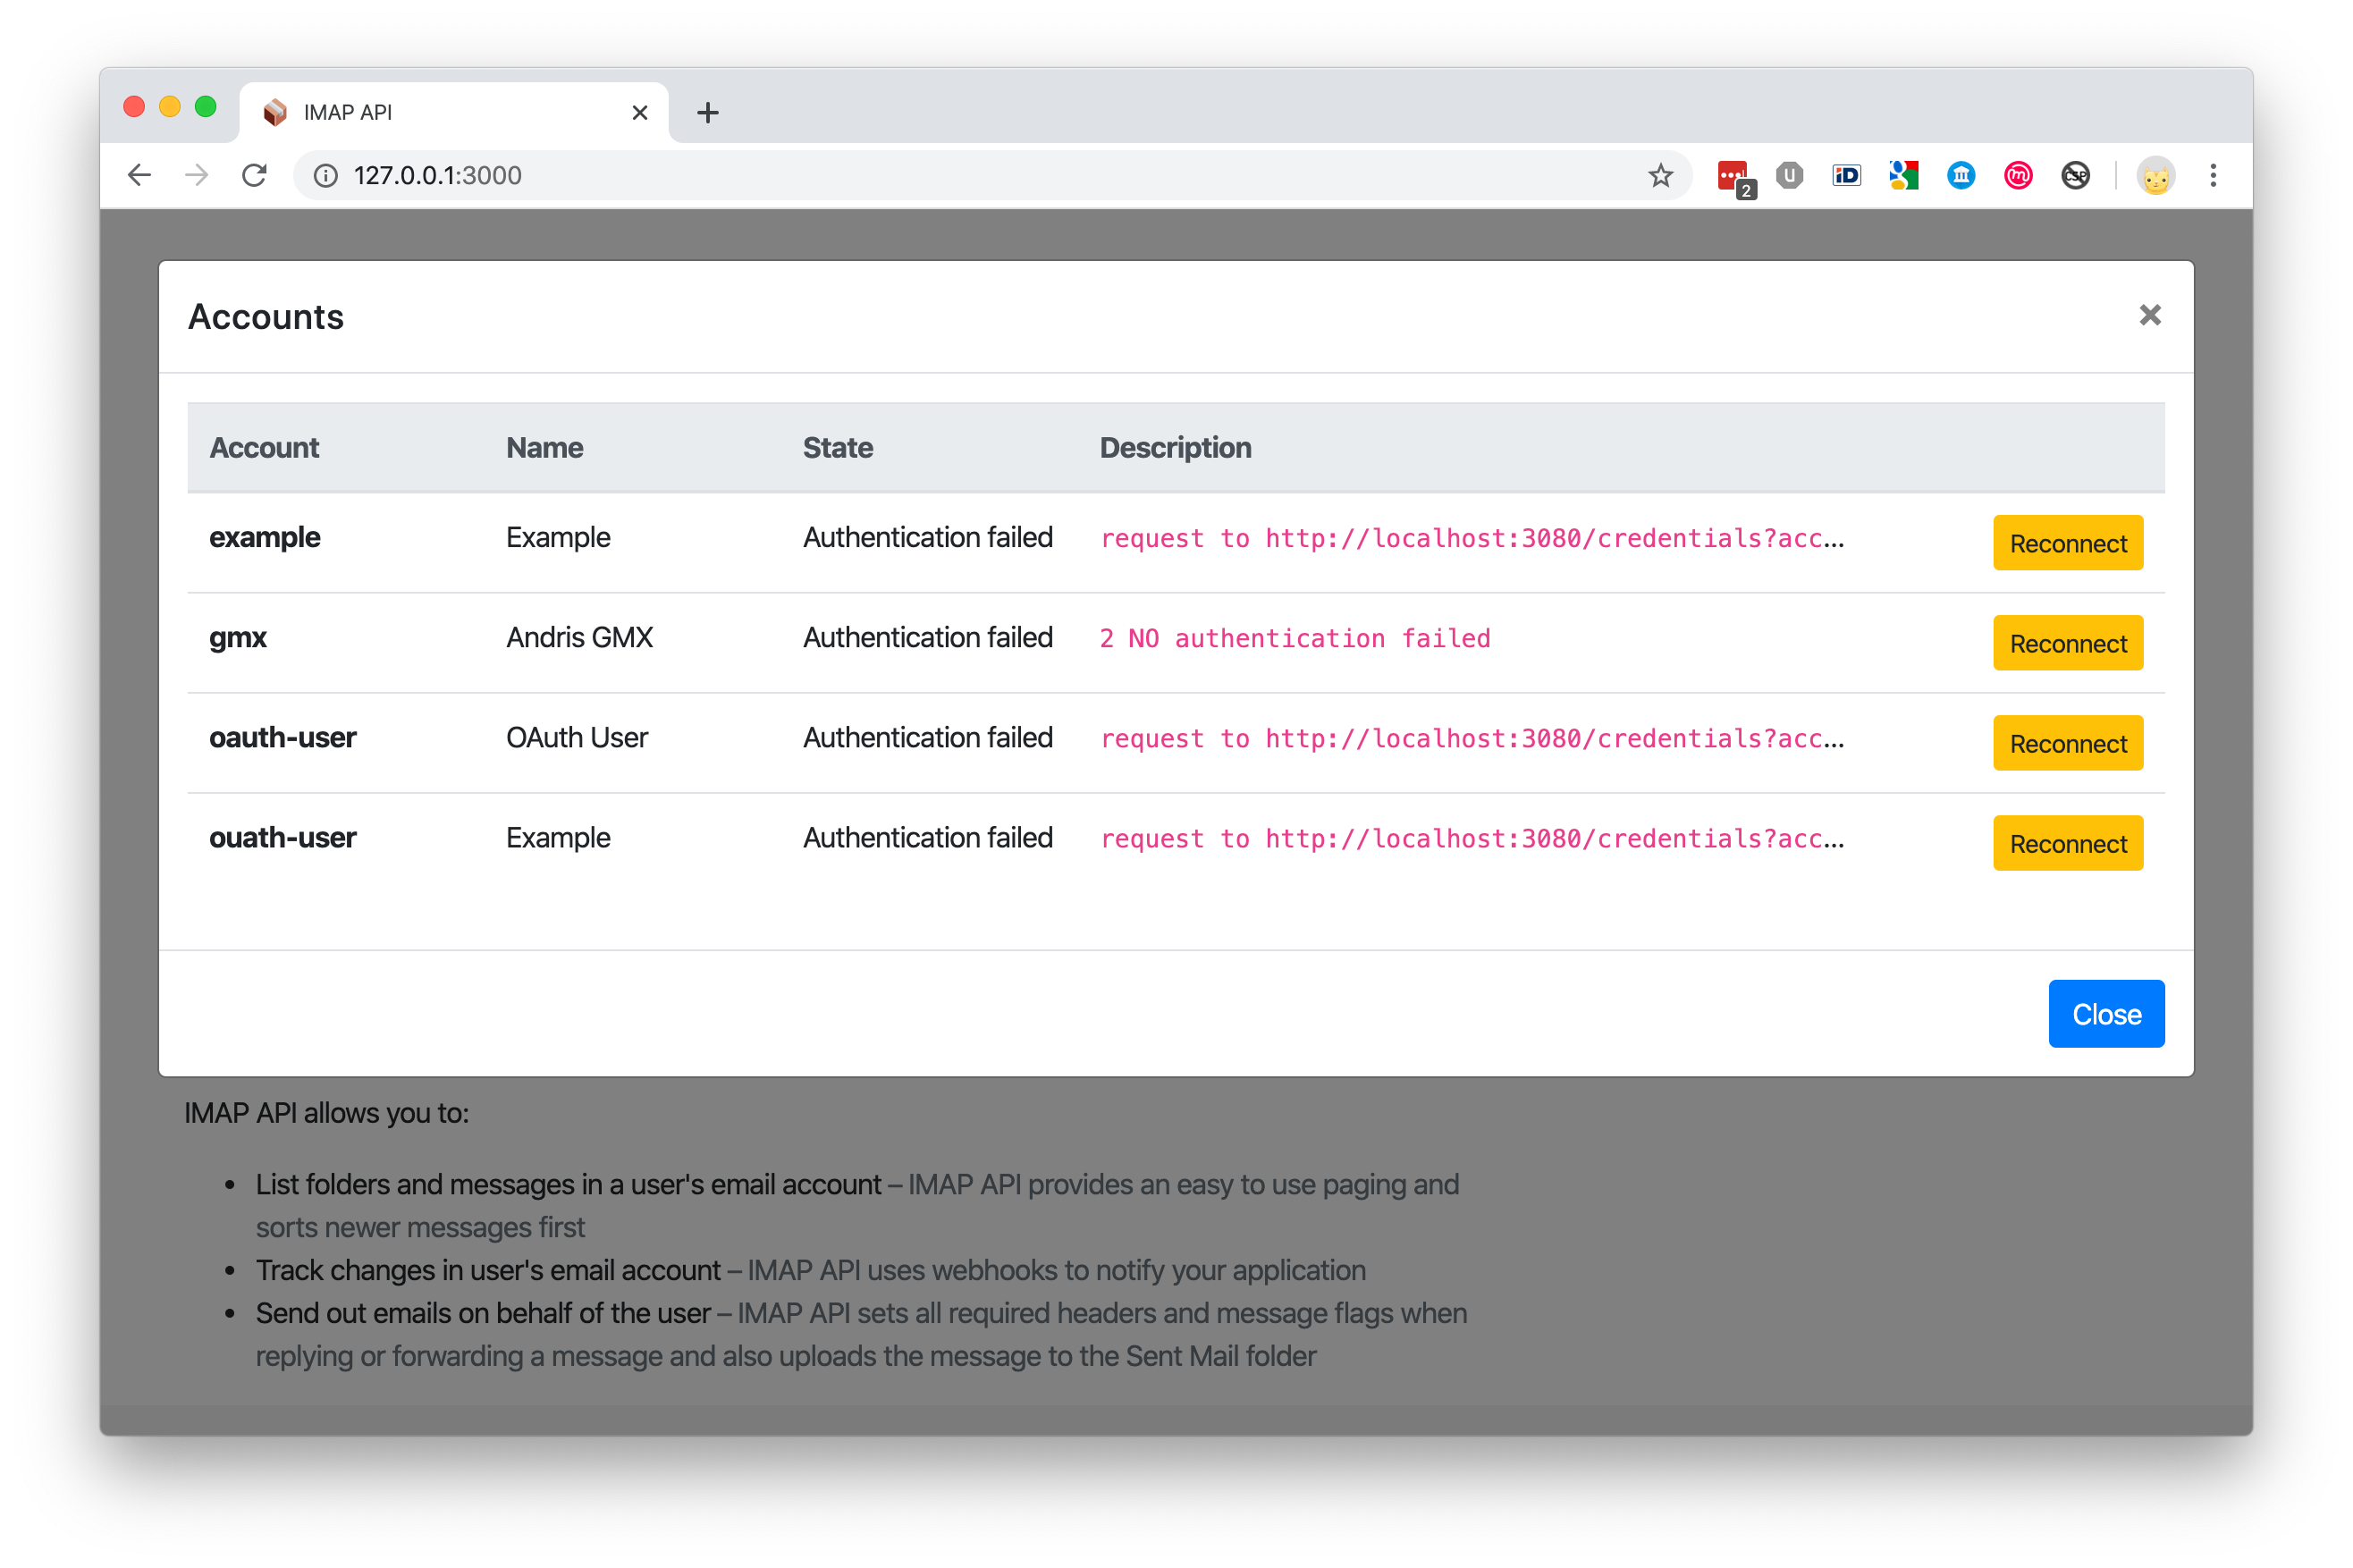
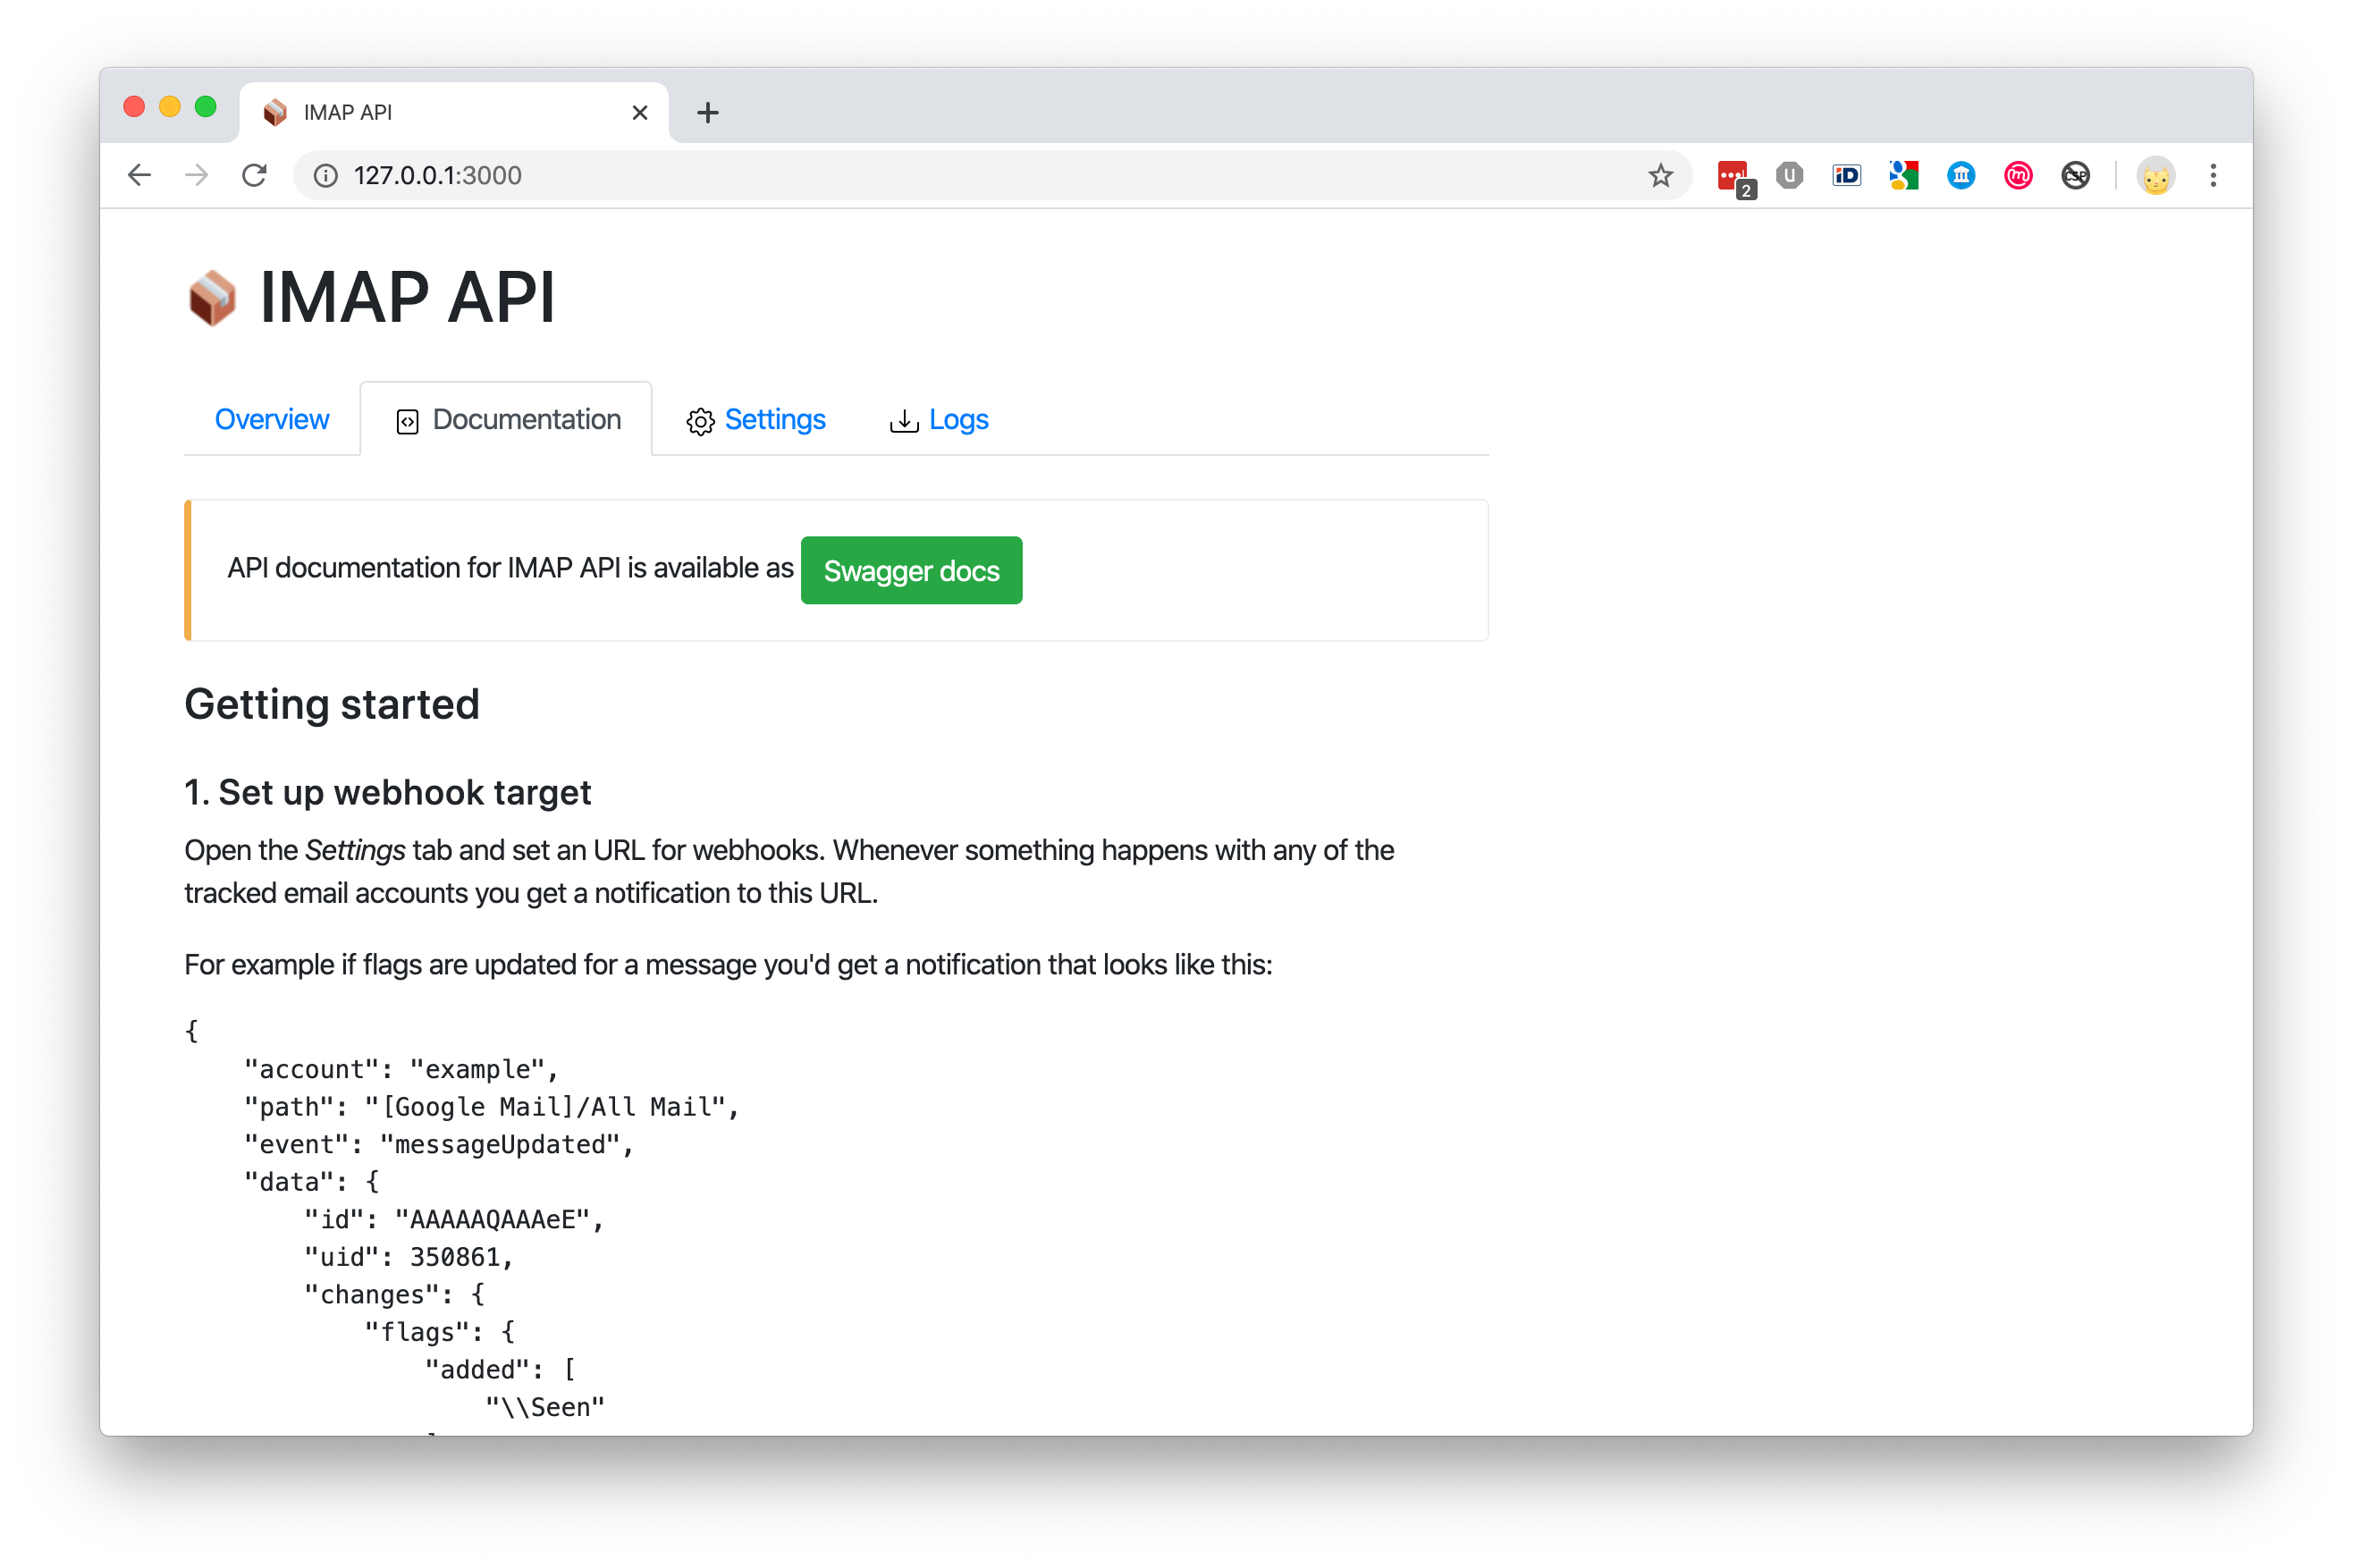
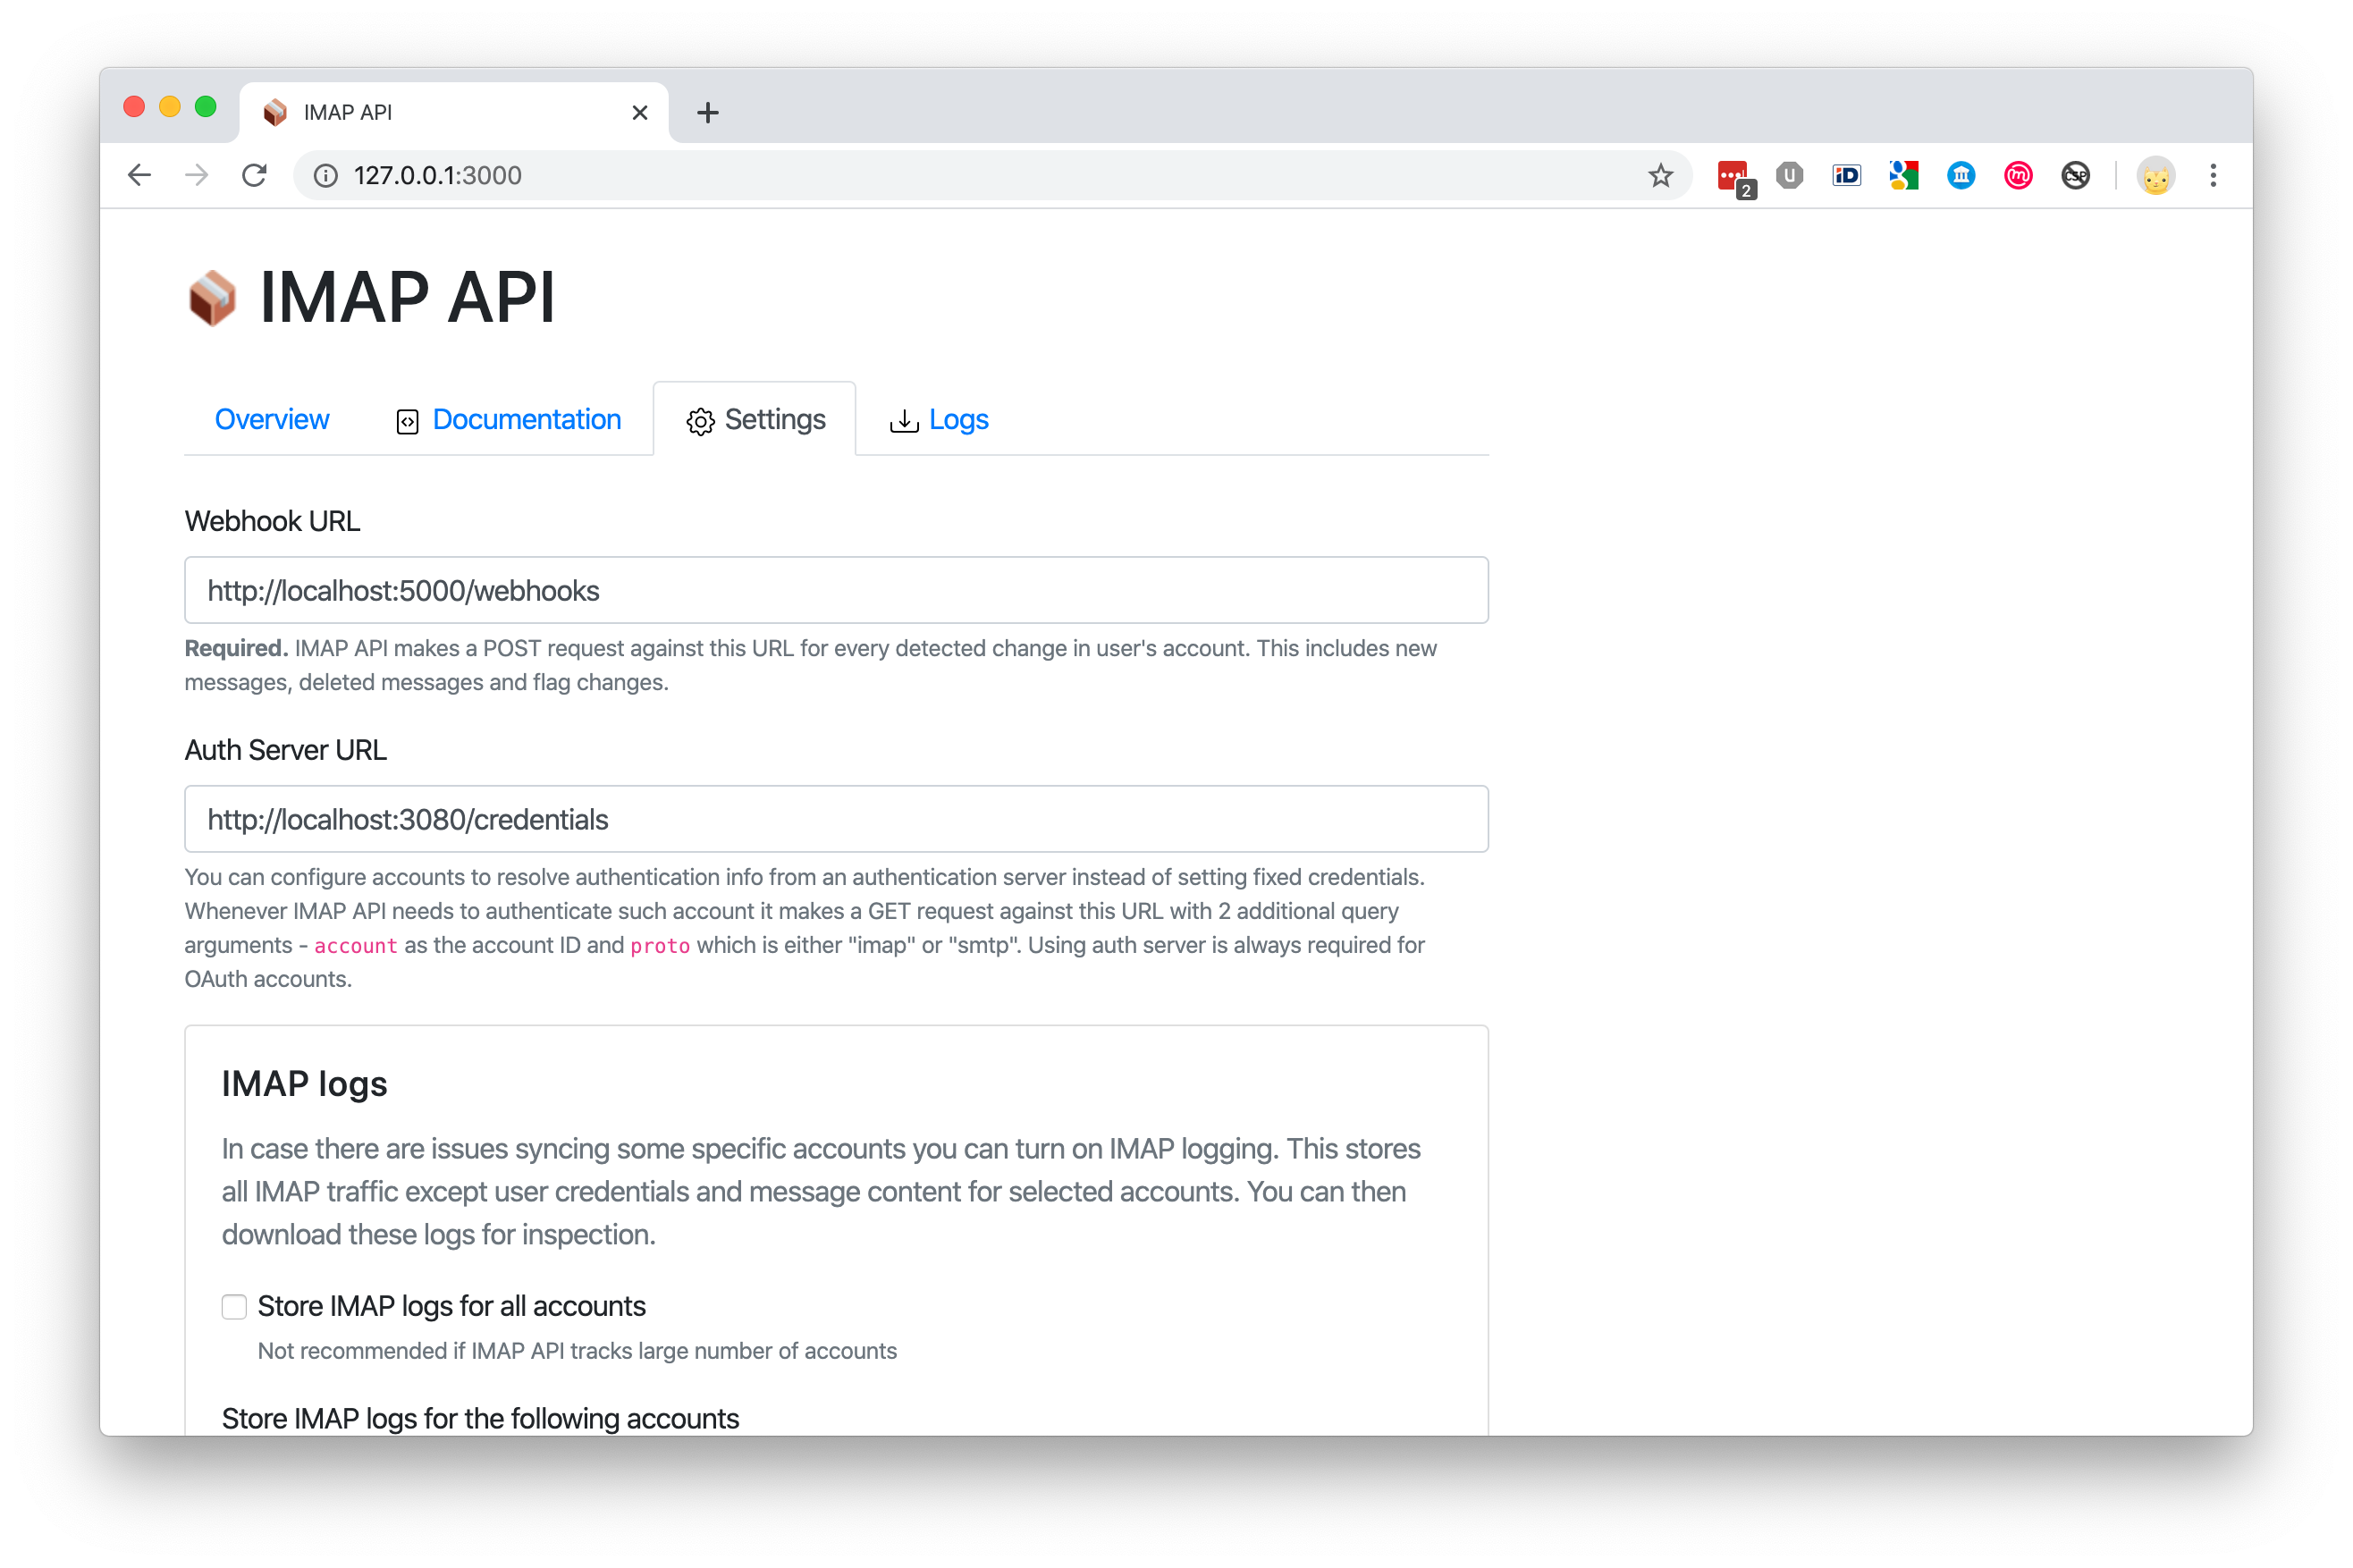
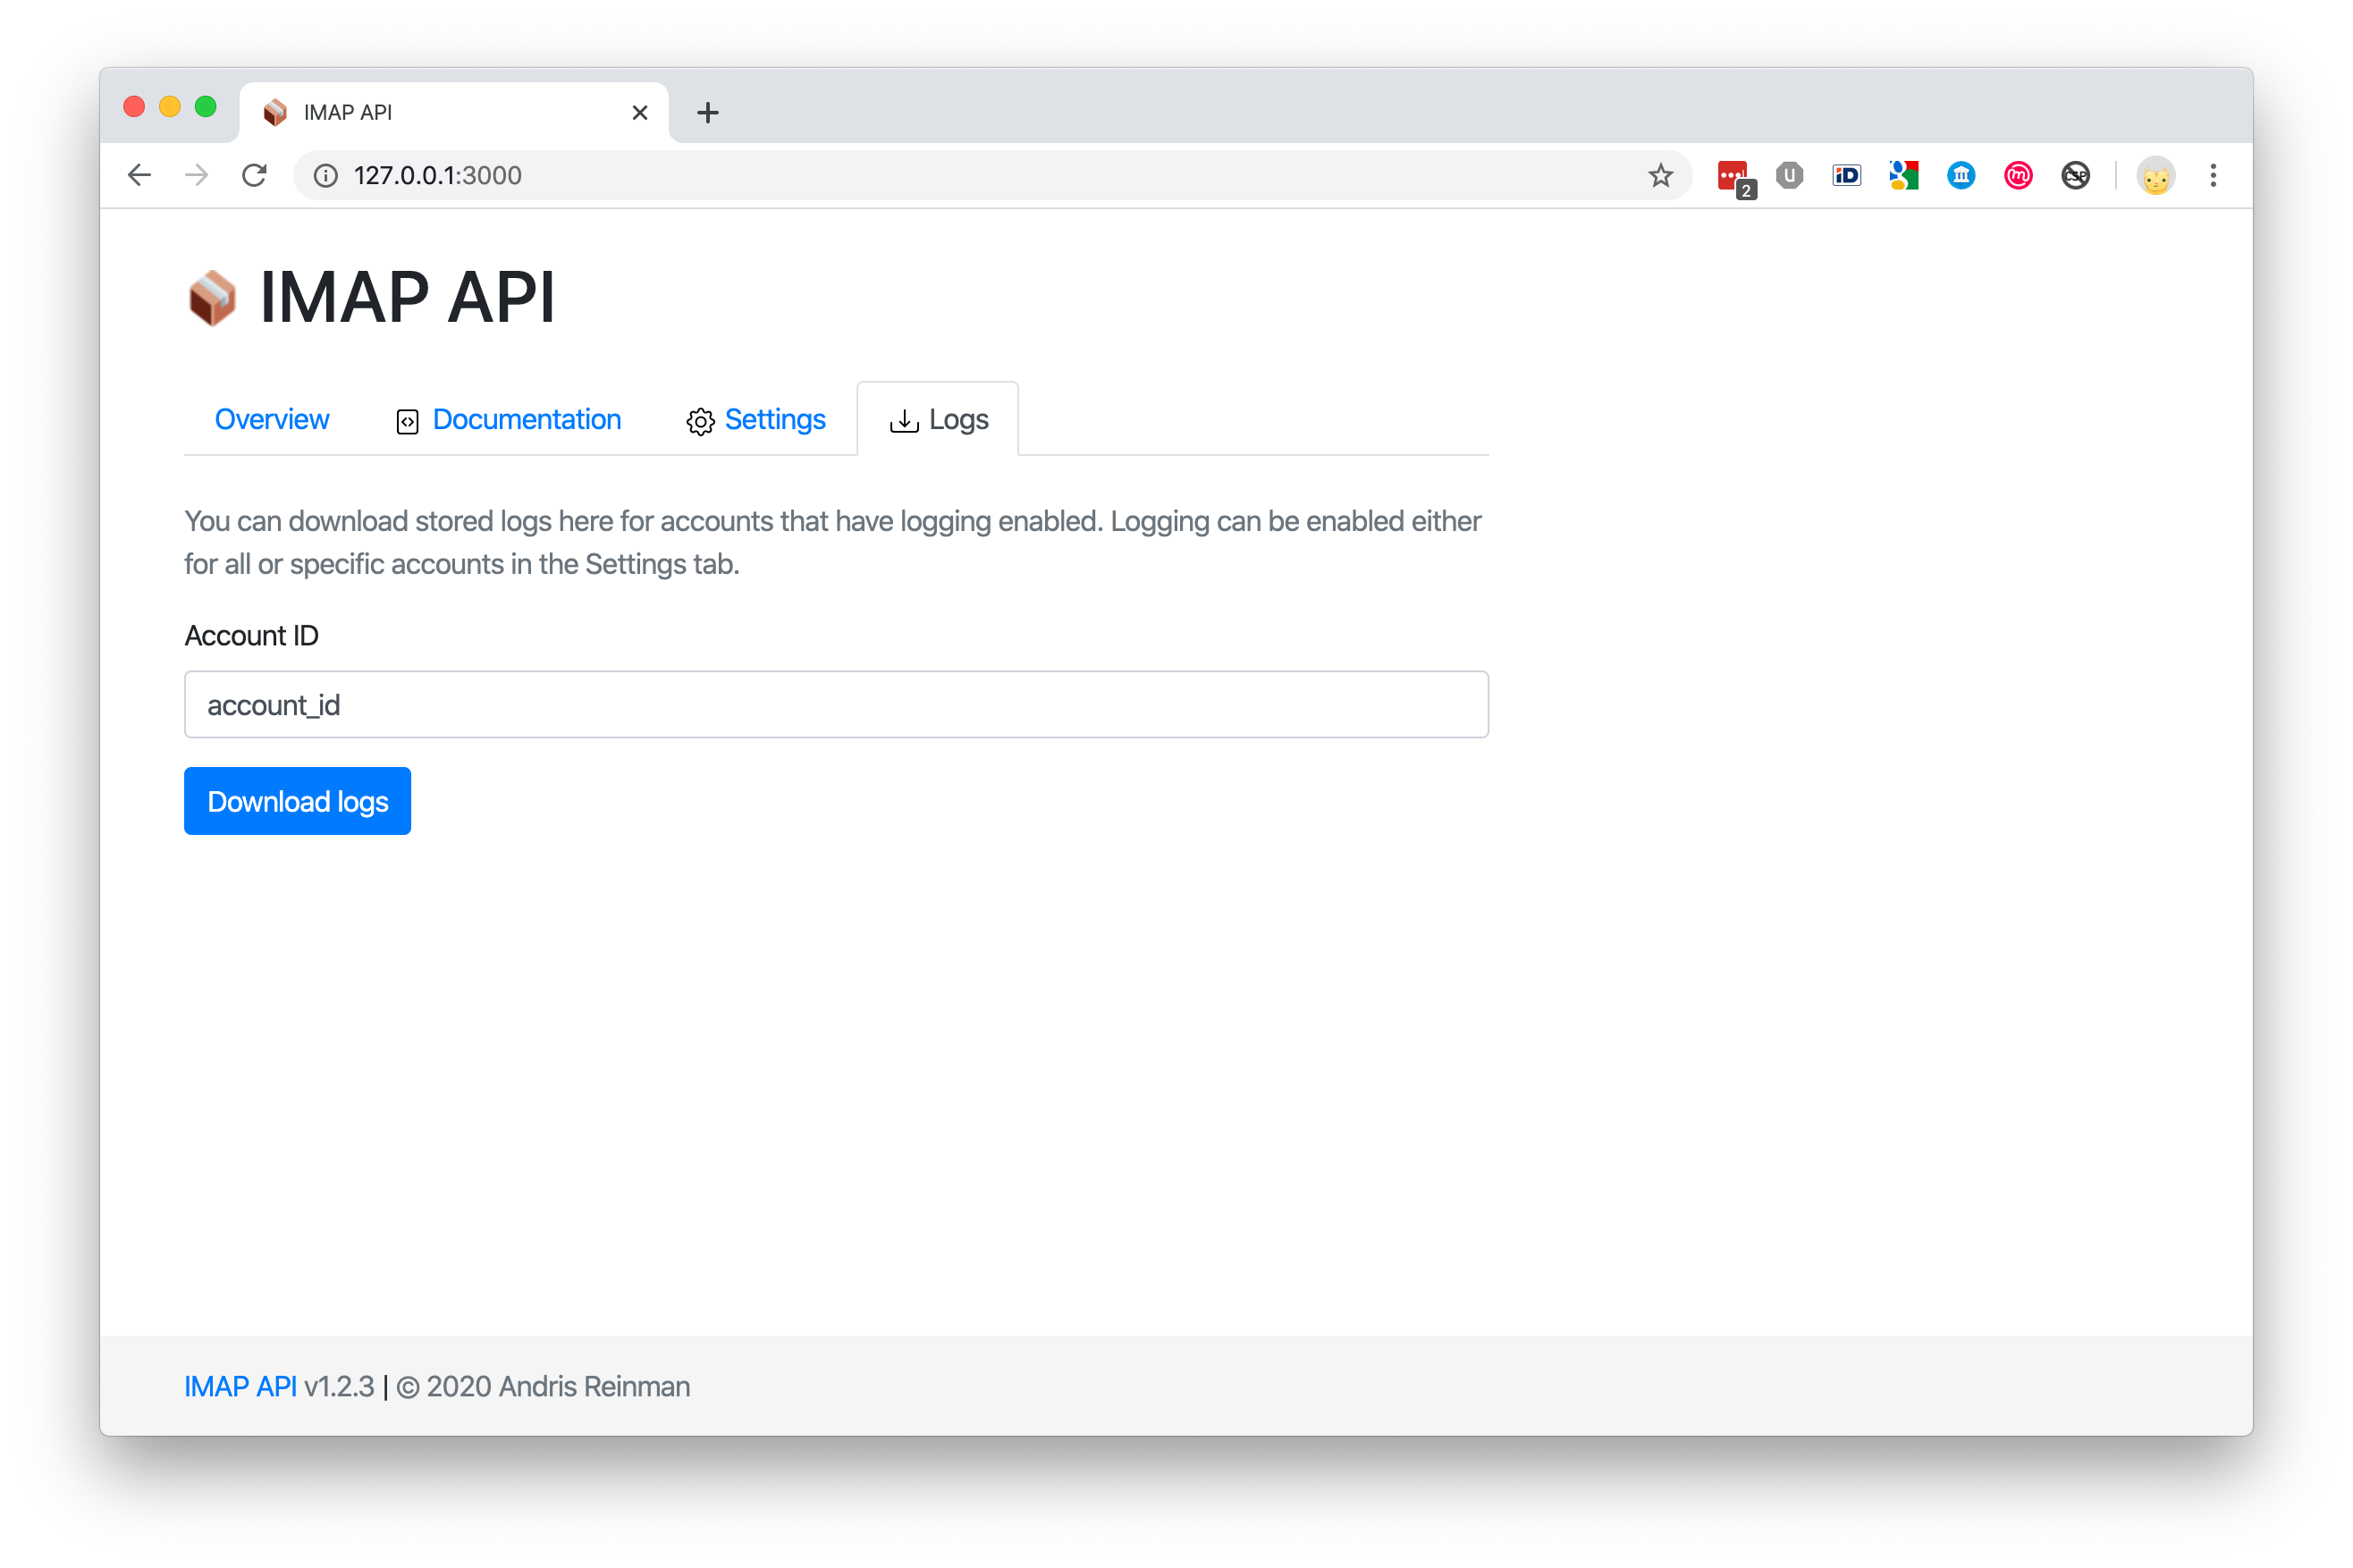
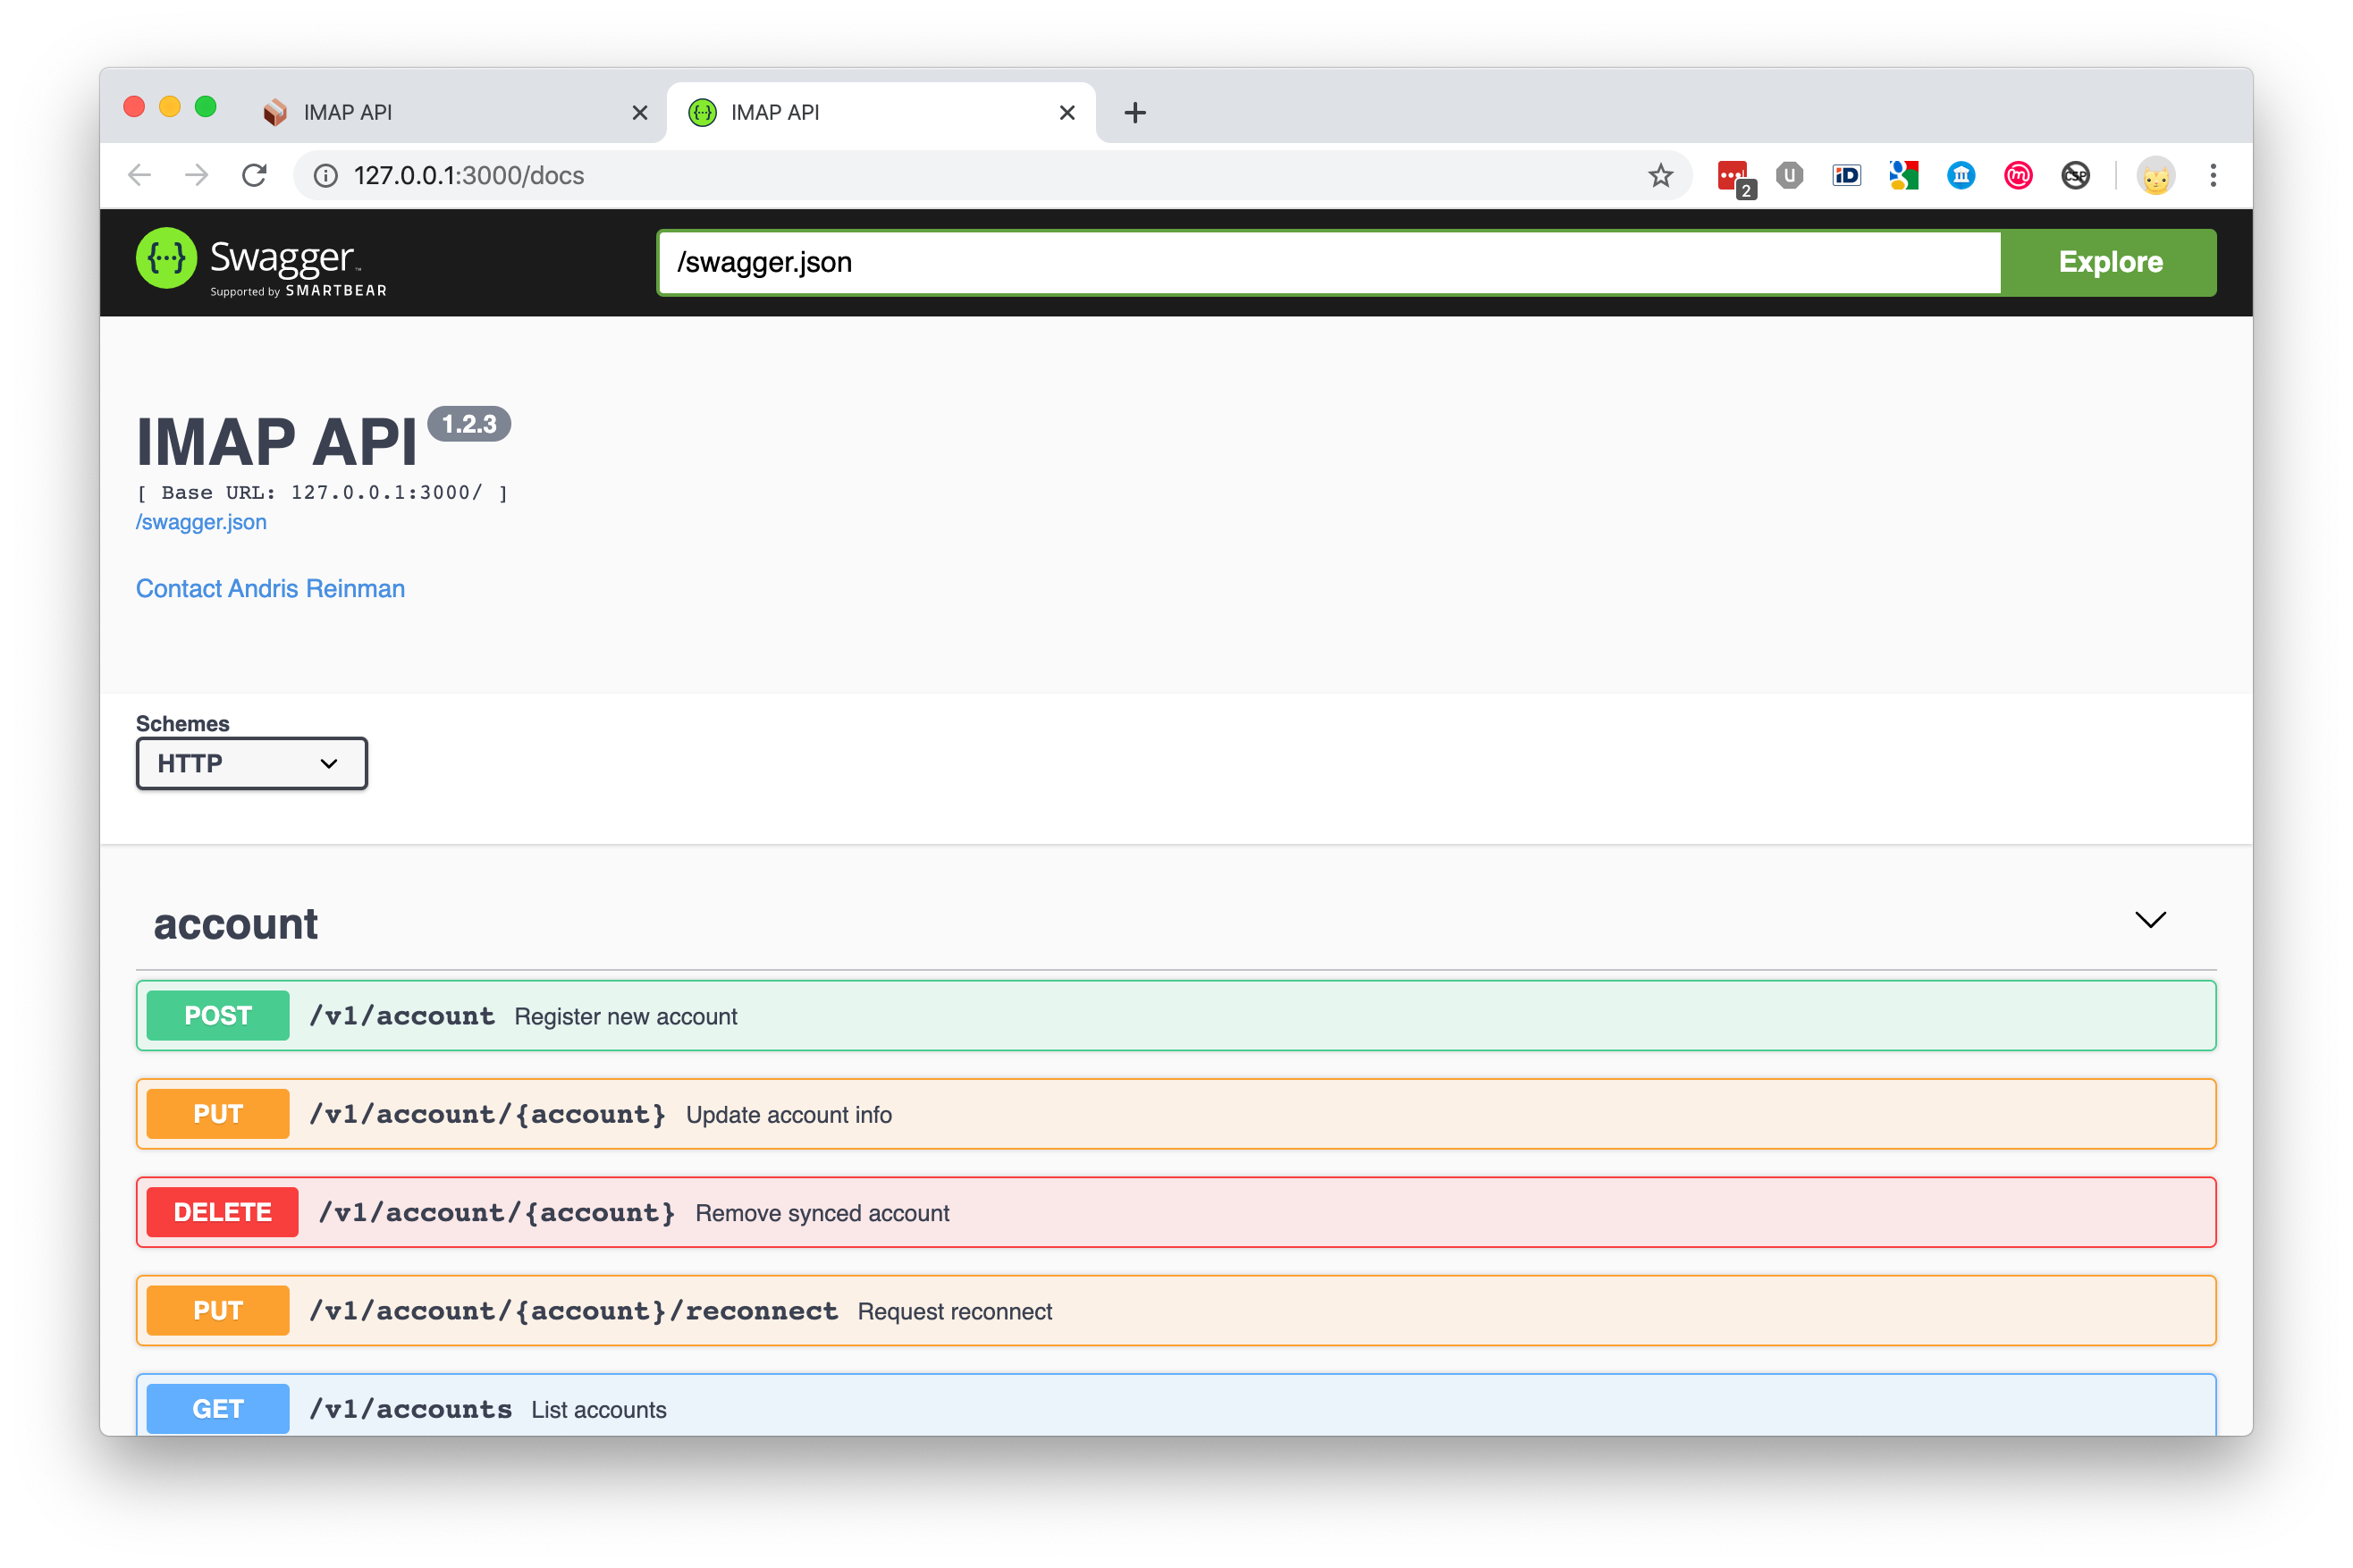
Screenshots
1. General overview
2. Account states
3. Documentation
4. Settings
5. Download stored logs
6. Swagger
Webhooks
EmailEngine sends webhooks to a predefined URL whenever something happens on an account.
Easiest way to set it up would be to use the built in web interface. Open the Settings tab and set an URL for webhooks. You can also select specific events to listen for.
For example if flags are updated for a message you'd get a POST notification that looks like this:
{
    "account": "example",
    "path": "[Google Mail]/All Mail",
    "event": "messageUpdated",
    "data": {
        "id": "AAAAAQAAAeE",
        "uid": 350861,
        "changes": {
            "flags": {
                "added": ["\\Seen"]
            }
        }
    }
}
API usage examples
See the entire API Reference here
Register an email account with EmailEngine
When registering a new account you have to provide an unique account ID for it. This could be any text identifer, even an email address.
NB! Trying to create a new account with the same ID updates the existing account.
$ curl -XPOST "localhost:3000/v1/account" -H "content-type: application/json" -d '{
    "account": "example",
    "name": "My Example Account",
    "imap": {
        "host": "imap.gmail.com",
        "port": 993,
        "secure": true,
        "auth": {
            "user": "myuser@gmail.com",
            "pass": "verysecret"
        }
    },
    "smtp": {
        "host": "smtp.gmail.com",
        "port": 465,
        "secure": true,
        "auth": {
            "user": "myuser@gmail.com",
            "pass": "verysecret"
        }
    }
}'
This example uses a Gmail account but in reality it might be difficult to get past Gmail's security restrictions. In this case use OAuth2 instead of password authentication.
List some messages
EmailEngine returns paged results, newer messages first. So to get the first page or in other words the newest messages in a mailbox folder you can do it like this (notice the "example" id string that we set earlier in the request URL):
$ curl -XGET "localhost:3000/v1/account/example/messages?path=INBOX"
In the response you should see a listing of messages.
{
    "page": 0,
    "pages": 10,
    "messages": [
        {
            "id": "AAAAAQAAAeE",
            "uid": 481,
            "date": "2019-10-07T06:05:23.000Z",
            "size": 4334,
            "subject": "Test message",
            "from": {
                "name": "Peter Põder",
                "address": "Peter.Poder@example.com"
            },
            "to": [
                {
                    "name": "",
                    "address": "andris@emailengine.app"
                }
            ],
            "messageId": "<0ebdd7b084794911b03986c827128f1b@example.com>",
            "text": {
                "id": "AAAAAQAAAeGTkaExkaEykA",
                "encodedSize": {
                    "plain": 17,
                    "html": 2135
                }
            }
        }
    ]
}
When fetching next page, add page query argument to the URL. Pages are zero indexes so if the server shows that there are 10 pages in total, it means you can query from page=0 to page=9. If you want longer pages, use pageSize query argument.
$ curl -XGET "localhost:3000/v1/account/example/messages?path=INBOX&page=5"
Send an email
The following is an example of how to send a reply. In this case you should specify a reference message you are replying to (NB! this message must exist). Use the "id" from message listing as the "reference.message" value.
If referenced message was not found from the IMAP account then API responds with a 404 error and does not send out the reply.
curl -XPOST "localhost:3000/v1/account/example/submit" -H "content-type: application/json" -d '{
    "reference": {
        "message": "AAAAAQAAAeE",
        "action": "reply"
    },
    "from": {
        "name": "Example Sender",
        "address": "sender@example.com"
    },
    "to": [{
        "name": "Andris Reinman",
        "address": "andris@emailengine.app"
    }],
    "text": "my reply to you",
    "html": "<p>my reply to you</p>",
    "attachments": [
        {
            "filename": "checkmark.png",
            "content": "iVBORw0KGgoAAAANSUhEUgAAABAAAAAQAQMAAAAlPW0iAAAABlBMVEUAAAD///+l2Z/dAAAAM0lEQVR4nGP4/5/h/1+G/58ZDrAz3D/McH8yw83NDDeNGe4Ug9C9zwz3gVLMDA/A6P9/AFGGFyjOXZtQAAAAAElFTkSuQmCC"
        }
    ]
}'
NB! if you are sending a standalone email then you most probably want to set subject value as well. For replies and forwards, EmailEngine sets subject itself, based on the referenced message.
When sending a referenced message:
- EmailEngine sets correct In-Reply-To and Referenced message headers to the outgoing message
- If subject is not set, then EmailEngine derives it from the referenced message and adds Re: or Fwd: prefix to it
- EmailEngine sets
\Answeredflag to the referenced message
For all messages:
- EmailEngine uploads sent message to Sent Mail folder (if the folder can be detected automatically)
- EmailEngine does not upload to Sent Mail folder when the account is Gmail/GSuite as Gmail does this automatically
- If account is created with
copy: falseoption, then emails are not copied to Sent Mail folder
Using OAuth2
Recommended approach for OAuth2 would be to manage access tokens outside of EmailEngine by running an authentication server. In this case whenever EmailEngine needs to authenticate an OAuth2 account, it makes a HTTP request to that authentication server. This server is responsible of respoding with a valid access token for EmailEngine to use.
You can find an example authentication server implementation from examples/auth-server.js.
Alternatively, for Gmail only, you can use EmailEngine as the OAuth2 handler. In this case you would have to provide OAuth2 client id and client secret to EmailEngine (see OAuth2 section in the Settings page) and then, when adding new accounts, use the OAuth2 option instead of manually specifying IMAP and SMTP settings.
In any case, your OAuth2 application for Gmail must support the following scope: "https://mail.google.com/".
Gmail requires security auditing if you are using restricted OAuth2 scopes for public accounts but for internal accounts (eg. accounts in your own GSuite organization) and test accounts (up to 100 pre-defined accounts) you do not need any permissions.
Instructions for setting up OAuth2 with EmailEngine can be found here.
To use authentication server:
- You must set
useAuthServer:trueflag for the account settings and not setauthvalue - Set authentication server URL in the Settings page, the same way you set the webhook URL
- EmailEngine makes HTTP request against authentication server URL with 2 extra GET params:
accountandproto, egurl?account=example&proto=imap - Authentication server must respond with a correct JSON structure for this account
Register managed account
curl -XPOST "localhost:3000/v1/account" -H "content-type: application/json" -d '{
    "account": "ouath-user",
    "name": "Example",
    "imap": {
        "host": "imap.gmail.com",
        "port": 993,
        "secure": true,
        "useAuthServer": true
    },
    "smtp": {
        "host": "smtp.gmail.com",
        "port": 465,
        "secure": true,
        "useAuthServer": true
    }
}'
Auth server response for OAuth2 accounts:
{
    "user": "username@gmail.com",
    "accessToken": "jhdfgsjfmbsdmg"
}
Auth server response for password based accounts:
{
    "user": "username@gmail.com",
    "pass": "verysecret"
}
App access
By default EmailEngine allows connections only from localhost. To change this either edit config file or use --api.host="0.0.0.0" cli option. This would enable outside access, so you should use firewall to only allow trusted sources.
Deployment
SystemD
Read about running EmailEngine as a SystemD service here
Docker
See the documentation for using EmailEngine with Docker here.
Resolving issues with Redis
EmailEngine is using Redis as it's data store. Redis stores everything in RAM so if something weird happens, EmailEngine could flood Redis and make the app unusable once there is no available space left.
First thing to do is to check what is actually going on. EmailEngine provides a few tools for that:
- Check Bull queues in Redis. You can use the built in Arena UI to view the state of the queues (Arena is not enabled by default). Open http://127.0.0.1:3001/ in your browser to see the queues.
- Scan the used keyspace. EmailEngine provides a tool that groups keys by type. Run it like this (use the same config for DB as you are using for the main app):
$ emailengine scan > keyspace.csv
Monitoring
There is a Prometheus output available at /metrics URL path of the app.
Log analysis
Read about logging options here
Security and Data compliance
Changelog
Changelog is available for Postal Systems subscribers here.
Licensing
Licensed under GNU Affero General Public License v3.0 or later.
MIT-licensed version of EmailEngine is available for Postal Systems subscribers.