


react-native-withcss
react-native + css, cool!
Features
- support css
- css with HMR
- support import in css
- support the most commonly used CSS selector: class selector,tag selector and descendant selectors
- support attribute inheritance
- shorthand for attributes
Installation
1. install @areslabs/babel-plugin-import-css
Since React Native can't load css, you need to use a babel plugin
npm install @areslabs/babel-plugin-import-css --save-dev
Add this to the .babelrc file
{
  "plugins": ["@areslabs/babel-plugin-import-css"],
  ...
}
2. install @areslabs/react-native-withcss
npm install @areslabs/react-native-withcss --save
3. Add command cssWatch
Add the command cssWatch in the scripts of package.json(for Live Reload / Hot Reload)
"scripts": {
    "start": "react-native-scripts start",
    "eject": "react-native-scripts eject",
    "android": "react-native-scripts android",
    "ios": "react-native-scripts ios",
    "test": "jest",
    "cssWatch": "cssWatch"
  },
Getting started
Take a demo project as an example:
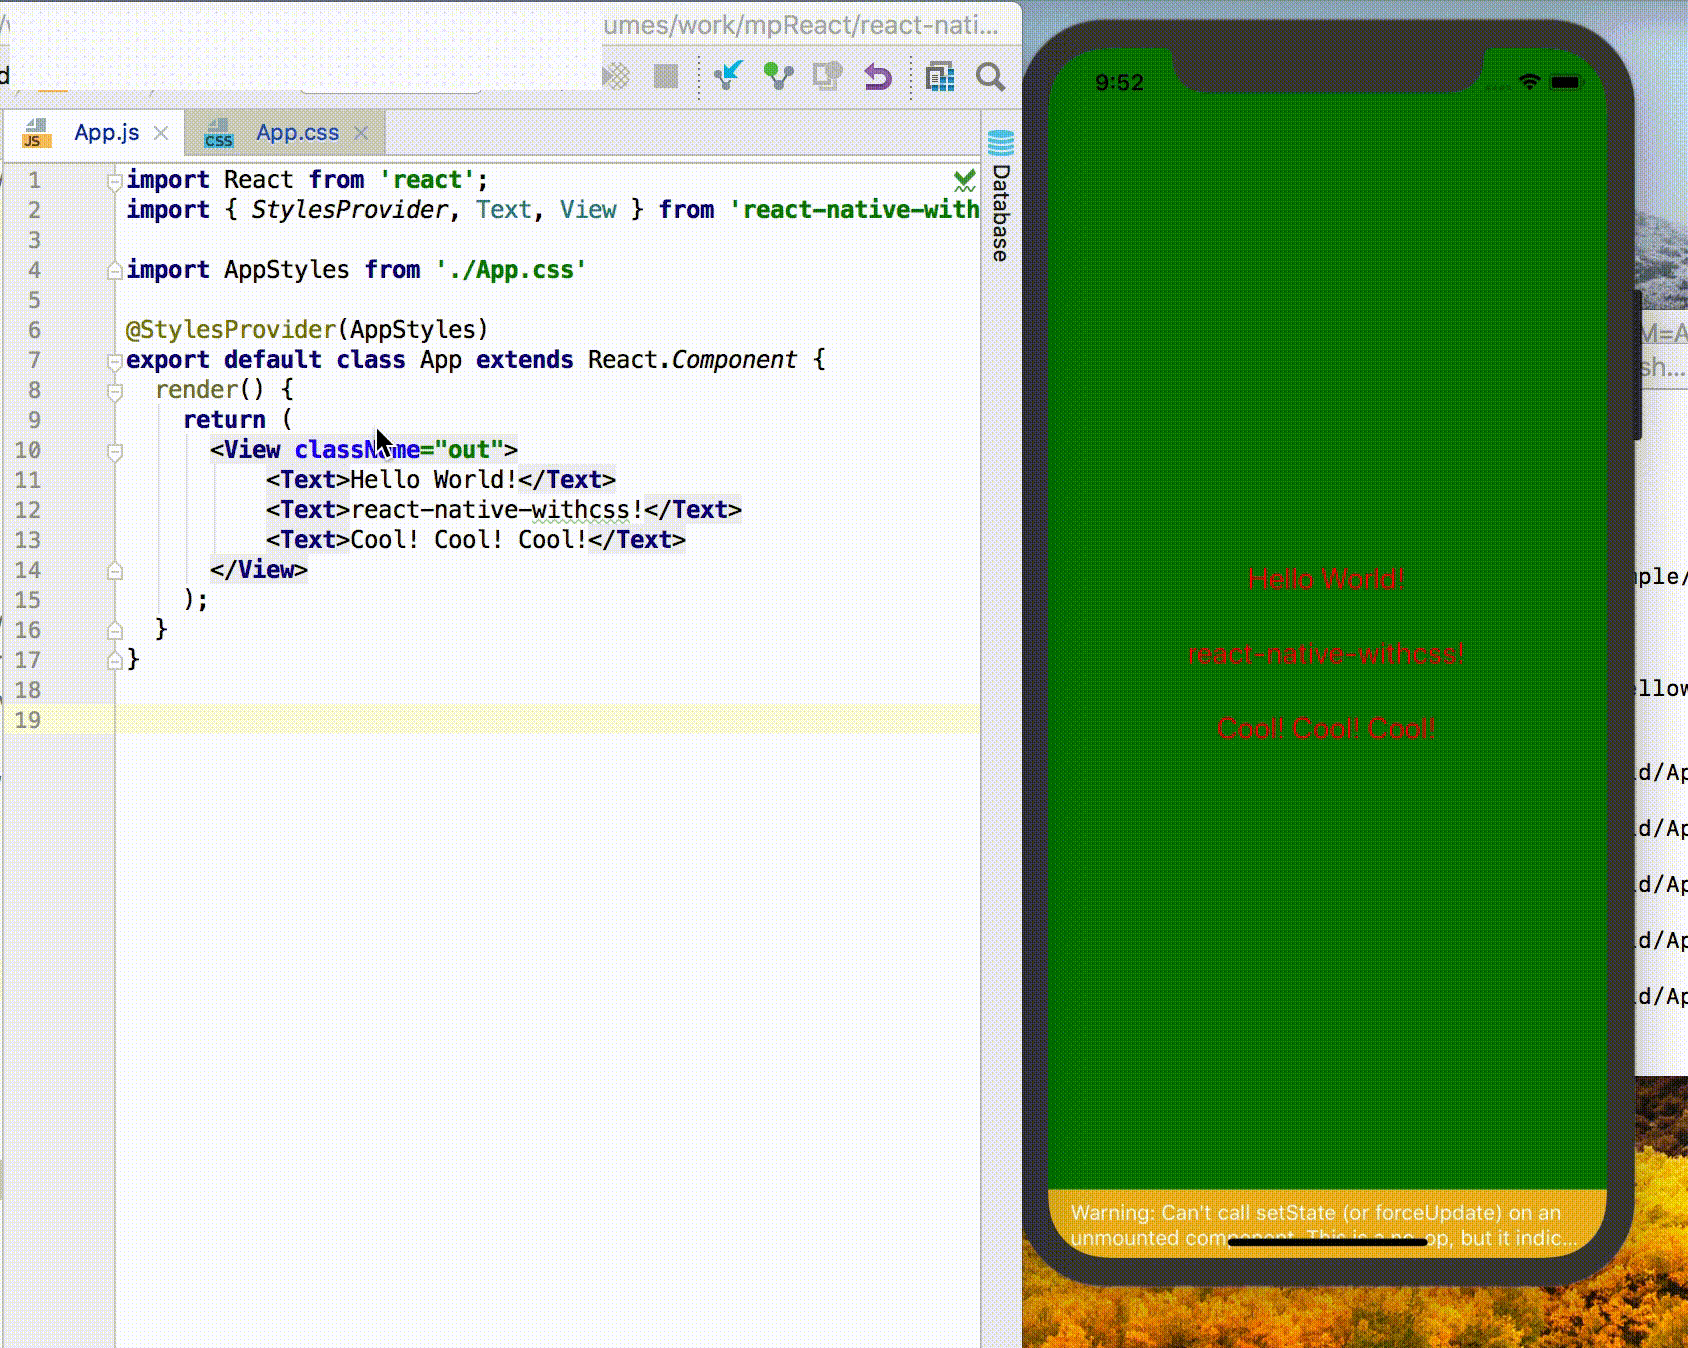
App.js
import React from 'react'
import { StylesProvider, Text, View } from '@areslabs/react-native-withcss'

import AppStyles from './App.css'

@StylesProvider(AppStyles)
export default class App extends React.Component {
  render() {
    return (
      <View>
        <Text>Hello World</Text>
      </View>
    );
  }
}
App.css
View {
    border-width: 1px;
    height: 100%;
    align-items: center;
    justify-content: center;
}

Text {
    color: black;
    font-size: 15px;
    line-height: 50px;
}
Note that the components that use RN now need import { Text, View } from '@areslabs/react-native-withcss'
Live Reload / Hot Reload
React Native itself provides the functionality of Live Reload / Hot Reload. If you want the .css file to have Live Reload / Hot Reload, be sure to execute the following code:
Npm run cssWatch
Example
TodoList TodoList is an example with all the features. If you have any problems, please refer to the TodoList code.
API
StylesProvider
Insruction
import homeCss from './home.css'
@StylesProvider(homeCss)
class Home extends React.Component {
}

/// or
StylesProvider(homeCss)(Home)
The StylesProvider provides a style file to the component, and its child components will calculate their own style based on this file.
It is recommended to use StylesProvider on the container component of each page, and a page corresponds to a style file.
In fact, StylesProvider can be used on any component.
It is recommended to use annotation. However, if it is Functional Components, then you can only use StylesProvider(homeCss)(Home).
ClassEnable
Instructions
@ClassEnable
class XXX extends React.Component {
    static displayName = "XXX"
    ...
}

/// or
ClassEnable(XXX)
Each ClassEnable component will calculate its own style based on the css file specified by the ancestor element. The calculated style will be assigned to the this.props.style property.
For example:
@ClassEnable
class XXX extends React.Component {
    static displayName = "XXX"
    render() {
        return (
            <View style={this.props.rncStyle}>
                <Text>this is XXX</Text>
            </View>
        )
    }
}

@StylesProvider(appCss)
class App extends React.Component {
    render() {
        return (
            <View>
                <XXX className="xx"/>
            </View>
        )
    }
}
CSS
.xx {
    border-width: 2px
}
At the same time, react-native-withcss also supports tag selectors, so the above css file can also be written as follows:
XXX {
    border-width: 2px
}
Attention Since the js code will be compressed after packaging, please add displayName to the component when your component needs to use the tag selector.
In addition, react-native-withcss provides a set of basic components that correspond to React Native. By default, ClassEnable function is enabled, so when using basic components, it is recommended:
Import {View, Text ...} from '@areslabs/react-native-withcss'Or you may need to use it all components
import {View, Text} from 'react-native'
import {View as CSSView , Text as CSSText...} from '@areslabs/react-native-withcss'
attribute shorthand
such as
View {
    margin: 20px
    padding: 20px
}
attribute inheritance
For text type attributes such as fontSize, color, etc., can be declared in the outermost component, similar to web.
.clz {
    font-size: 12px;
    color: red;
}
class A extends Component {
render() {
return (
<View className="clz">
<Text>H</Text>
<Text>E</Text>
<Text>L</Text>
<Text>L</Text>
<Text>O</Text>
</View>
)
}
}Selector support
At this stage, we only support tag selectors, class selectors, descendant selectors.
Tag Selector
For basic components, react-native-withcss provides a set of basic components that correspond to React Native. So can use that directly
View {
    margin: 20
}
class A extends Component {
render() {
return (
<View/>
)
}
}For custom components, as mentioned before, you need to turn on ClassEnable, and don't forget to specify displayName.
The tag selector has a wide range of influences, such as View, then all View styles will be affected, so use the tag selector with caution.
Class selector
The class selector is the most used class of selectors. such as
.label {
   font-size: 12px
   color: red
}@StylesProvider(css)
class A extends Component {
render() {
return (
<View className="label"><Text>Hello World</Text></View>
)
}
}Descendant selector
React-native-withcss supports descendant selectors, such as we have a button, in different cases, the button background color is different. Usually, we can pass the background color as a parameter through the source position of parent component. If you use react-native-withcss, then we can
@ClassEnable
class MyBtn extends Component {
    static displayName = "MyBtn"
    render() {
        ...
    }
}
Then when using this function
.best MyBtn {
    background: #00ff00
}

.good MyBtn {
    background: #00aa00
}

.bad MyBtn {
    background: #aa0000
}

.worse MyBtn {
    background: #ff0000
}@StylesProvider(infoCss)
class Info extends Component {
render() {
return (
<View>
<View className="best">
<MyBtn/>
</View>
<View className="good">
<MyBtn/>
</View>
<View className="bad">
<MyBtn/>
</View>
<View className="worse">
<MyBtn/>
</View>
</View>
)
}
}@import
In many cases, we will have a public css file, which contains the basic sharing style of our app. We certainly don't want to repeat this style before every css file. This is not only troublesome, but also very inconvenient to modify. In this scenario, you can use @import.
We can write the shared style in a public css file and then reference it via @import